Every parent knows the joy and pride that comes with their child’s artwork — those colorful drawings, imaginative paintings, and crafty creations are treasured keepsakes. However, as the masterpieces multiply, it can quickly become overwhelming to keep them organized and neatly stored. If you’re wondering how to balance preserving those precious memories without drowning in piles of paper, you’re in the right place!
In this post, we’ll explore practical, easy-to-implement tips to help you keep your kids’ art organized while still celebrating their creativity.
Why Organize Kids’ Artwork?
Before diving into solutions, it’s helpful to understand the benefits of organizing artwork:
– Preserves memories: Helps protect special moments and milestones in your child’s creative journey.
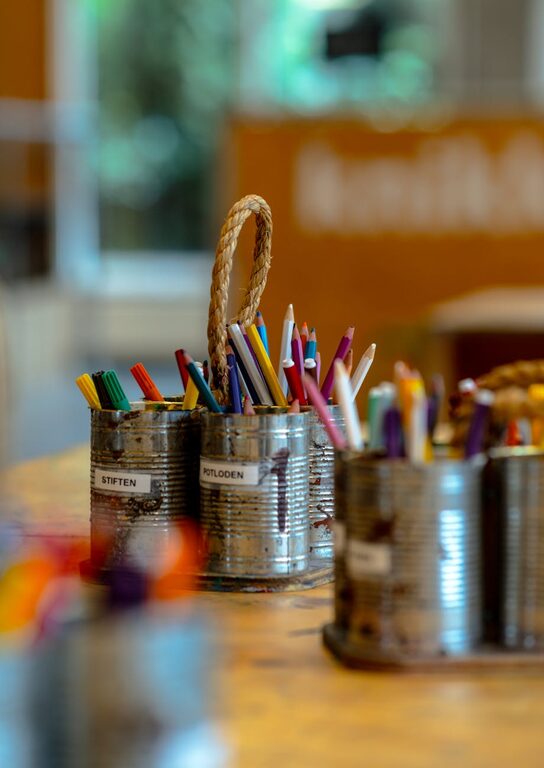
– Reduces clutter: Avoids piles of paper cluttering your home.
– Boosts creativity: A tidy display can motivate kids to keep creating.
– Teaches organization: Sets a good example and teaches children valuable skills.
Step 1: Create a Display Space
Showcasing art not only makes kids proud but also gives a temporary home for new creations.
Wall Galleries and Corkboards
– Use a dedicated wall, hallway, or playroom area.
– Hang a corkboard or magnetic board to easily pin and swap out artwork.
– Rotate art regularly to keep the display fresh and exciting.
String and Clips
– Hang a string or wire along a wall.
– Use clothespins or clips to attach artwork.
– This method is flexible and makes swapping pieces simple.
Step 2: Sort and Select
Since kids often produce a large volume of art, decide which pieces are worth keeping for the long term.
Involve Your Child
– Ask your child to pick their favorites.
– This helps them develop decision-making skills and valuing their best work.
Take Photos of Every Piece
– Photograph artwork before recycling or giving it away.
– You can keep a digital archive without physical clutter.
Step 3: Storage Solutions
Once you’ve chosen what to keep, find organized ways to store the artwork.
Portfolio Folders or Binders
– Use large artist portfolios or expandable folders.
– Label by date or school year for easy reference.
– Plastic sleeves in binders protect fragile papers.
Art Boxes
– Allocate a plastic storage box or decorative bin for each child.
– Store bulkier crafts safely.
– Label boxes clearly.
Digital Archiving
– Apps and cloud storage services help organize photos of artwork.
– Create folders by year or theme.
– Consider making printed photo books as keepsakes.
Step 4: Repurpose and Gift Art
Give new life to artwork by turning them into gifts or useful items.
Homemade Gifts
– Use drawings to create greeting cards.
– Frame selected pieces for relatives.
– Transfer images onto mugs, t-shirts, or calendars via printing services.
Crafty Collages
– Combine multiple small drawings into a large collage.
– This reduces bulk and makes a decorative piece.
Step 5: Establish a Routine
Set a regular schedule for sorting and updating the artwork collection.
– Weekly or monthly reviews can keep clutter in check.
– Use this time to celebrate your child’s creative progress together.
– Involve kids in tidying their art space.
Bonus Tips for Success
– Use clear labels and color-coded files for multiple children.
– Choose storage containers that fit easily on shelves.
– Encourage digital art creation to reduce paper use.
– Celebrate milestones by creating “art books” yearly.
—
Keeping kids’ art organized doesn’t have to be stressful. With a bit of planning and involvement, you can preserve their creativity in an enjoyable way that inspires the whole family. Happy organizing!
